Convert high beams to relay circuit
Again and again I had the problem that my high beam on my 1964 Cadillac Fleetwood flickered after a certain time or switched off completely and I was driving in the dark. Very dangerous, because the rear lights also switch off and I am therefore generally not visible to traffic. If you switch back to low beam, everything goes again.
The reason is the 15 amp fuse in the light switch. Since the retrofitted headlights for German road traffic have a higher current consumption than the original US "sealed beam" headlights, the current flow in the high beam is too high and the fuse blows. The retrofitted H1 (high beam) and H4 (high and low beam) headlights are much brighter.
Since my two headlights for the high beam have become blind from the inside and they could not be cleaned, I had to order new ones. In this course I have therefore then immediately installed a relay for the high beam.
The Valeo H4 main headlights (manufacturer number 082374) I was able to clean from the inside, because the H4 lamps are quite large and have a sufficiently large hole, you can get well with a lint-free and soft cloth in the headlight housing. If you wet the cloth damp with some glass cleaner, you can clean the inside of the headlight glass well with long fingers or a thin wooden brush handle.
The aluminum vaporized reflector is usually clean and requires little or no cleaning. Attention: the reflector is very sensitive. So make sure that you do not scratch it or treat it with too sharp a substance! It is important not to reach into the housing with bare fingers. It is best to use disposable gloves to ensure that no grease or sweat from your hands gets on the reflector. Finally, it is recommended to blow out the headlight with compressed air to remove residues of moisture and lint that have made it.
The Valeo high beam headlights (manufacturer number 082374) fit better than the Hella ones, as do the low beam headlights from Valeo. With the Hella headlights must be ordered with additional caps to make them dust-tight. So you are forced to also convert the plugs, which means additional effort.
How do you ensure that the current for the high beam does not flow through the light switch with the 15 amp fuse together with the low beam headlights?
Lösung: Man baut ein Relais zwischen Schalter und Fernlicht.
Two circuits are required for a relay. One circuit is used to switch the relay. This requires almost no power and is therefore negligible for the fuse in the light switch. The second circuit closes a parallel circuit for the headlights. So you can switch a high power circuit with a low power circuit.
Before we get to the installation of the relay, first some physics. If a too high current flows through a too thin cable, the resistance increases, it becomes hot and can melt in extreme cases and cause a short circuit. In the best case you have only bad or no high beam anymore, in the worst case it burns. We also want to prevent the "best" case.
H1 bulbs have a power of about 55 watts. But to calculate the required cable cross-section we need the current consumption of the bulbs. If you paid attention in school, you already know the formula:
55 Watt / 12 Volt = 4,583 Ampere
So let's assume 5 amps per lamp. This gives us some "air" upwards and additional safety.
Now we need the cable cross-section, which can be calculated with the following formula:
A = ( I x 0,0175 x L x 2 ) / (fk x U)
- I is the maximum current in amperes
- 0.0175 is the specific resistance of copper in Ohm x mm2 / m
- L is the cable length
- fk is the loss factor, example: 1%, are 0.01
- U is the voltage
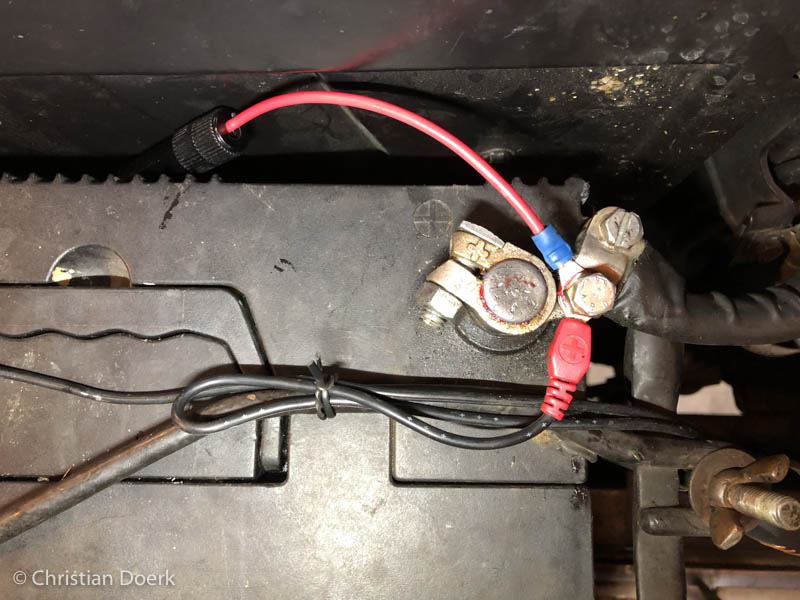
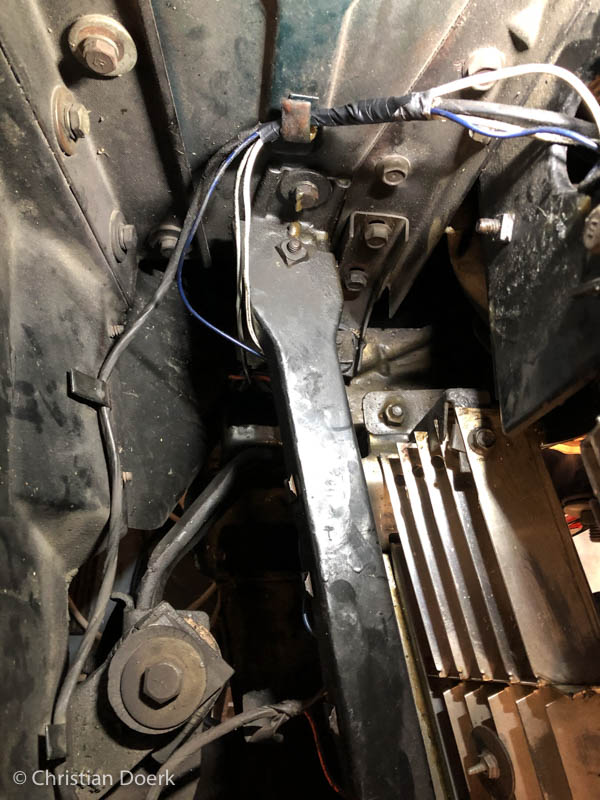
In my case, since I want to install the relay next to the battery behind the right headlight, my longest cable length is about 2 meters. From the relay to the left headlight.
Beim Verlustfaktor akzeptiere ich 2%, also 11,76 Volt.
So now in our case:
(5 Ampere x 0,0175 x 2 Meter x 2) / (0,02 x 12 Volt) = 1,4583 Millimeter
Let's take a little more of the good here, too. With a cable cross-section of 1.5 millimeters, we no longer have a problem with smaller voltage peaks. Of course, the power supply to the headlights must still be protected with a fuse. If we had a short circuit somewhere in the system, we would otherwise risk a cable fire. Since we want to protect two H1 headlights with 55 watts each (approx. 5 amps), we need a fuse with 10 amps. I use a 15 amp fuse so that I don't constantly blow the fuse in case of voltage peaks when switching the relay.
The relay should withstand at least 20 amps and must be a "normally open" contact. With the circuit with which we want to turn on the high beam, a 2nd circuit must be closed. The relays are available with or without mounting bracket for about 5 euros.
With 6.3 mm flat receptacles you could connect this directly with a cable. In this case, however, please use only fully insulated flat receptacles to prevent short circuits! I have chosen the more professional version with relay socket. This way, if the relay is defective, it can be replaced more easily without accidentally connecting the cables incorrectly.
With the relay sockets, however, you have to pay attention to the power. Most sockets are only designed for a maximum of 5 amps. Here, therefore, make sure that they are designed for at least 10 amperes!
I still had a suitable relay with mounting tab lying around at home. I simply removed the tab with a small handsaw.
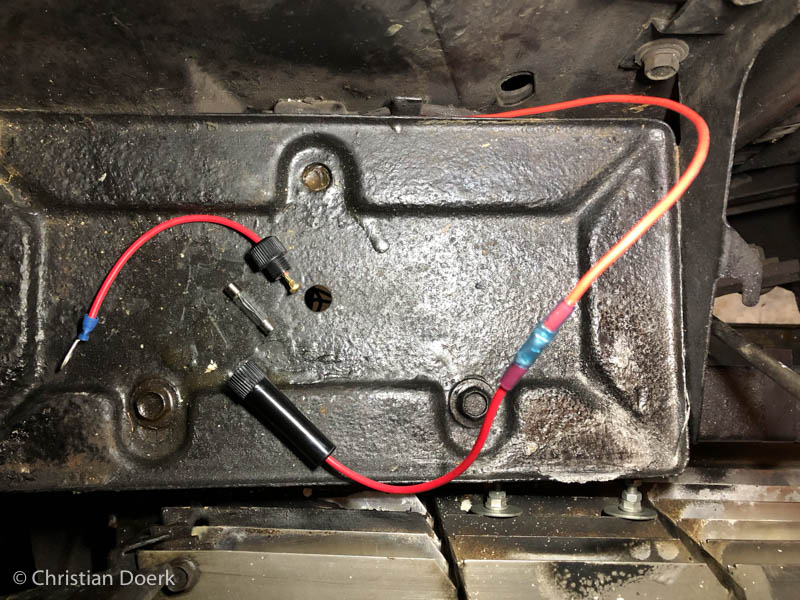
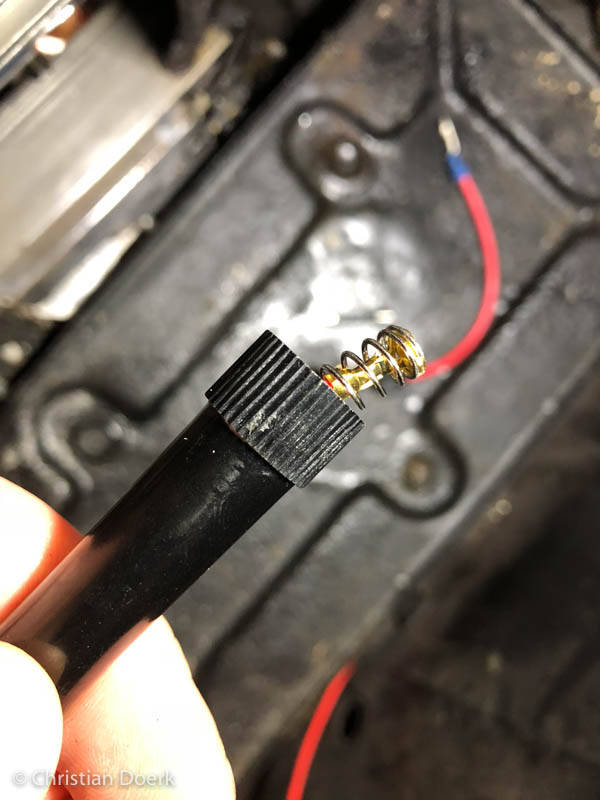
For the fuse holders, holders for flat fuses are the most common. But I really wanted one for 6.35 x 30 mm glass fuses, since these are also used in my normal fuse box in the Cadillac. This way I don't have to keep different fuses on hand. I always have a set of glass fuses with me.
I bought my fuse holder ready-made. Also here necessarily pay attention to the max. permissible power! At one end I only had to attach a ring terminal and connect the other end with my cable to the relay. For the latter I use fully insulated butt connectors with heat shrink tubing. After crimping, heat them with a hot air gun or, in an emergency, carefully with a lighter, thereby making a watertight connection and corrosion and resulting contact failures are avoided.

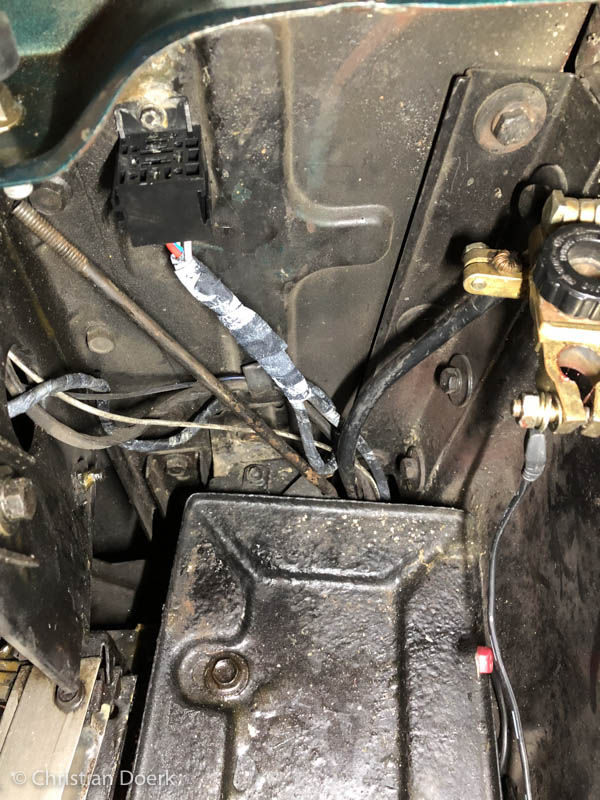
As far as possible, I have combined all cables into cable strands with black insulating tape. On the one hand, this looks a bit tidier, on the other hand, it also protects against damage and weathering. Pay attention to quality when buying the insulating tape. Cheap tape holds poorly and comes loose after a certain time.
The H1 bulbs can be attached with 8 mm wide flat plug sleeves. Attention: The base of the bulbs has contact to the headlight housing, which in turn has contact to the ground of the vehicle when installed. If you interchange the ground cable and the positive cable when connecting to the bulb, there will be a short circuit!x
Since I already had the corresponding adapter from the original Cadillac plug to the H1 bulb from my old Valeo headlights, I could connect this with the 8 mm wide flat plug sleeves and thus did not have to pinch anything off. So everything remains original and nothing is "destroyed". If you don't have such an adapter, you have to pinch off the original connector and connect the cable ends with butt connectors. As far as I know, there are no 8 mm wide flat connectors to connect them to the original plug. The 6.3 mm wide flat plugs are too narrow and should not be used under any circumstances.
By the way, I always lubricate plug connections with battery grease to prevent moisture penetration and thus corrosion.